Yes, you can install a GUI on your KVM server if you are prepared to handle some technical challenges. Before you proceed, we recommend that you do not use a GUI for the best performance. If having a graphical interface is important to you, consider using our Windows Servers.
KVM Server
You are free to install a GUI on KVM servers because they use full virtualization and have guaranteed resources. However, please note that our host systems do not have graphics cards, so you will not have hardware acceleration. Whenever possible, you should use the VNC console.
Here are the steps you need to follow:
- Install a desktop environment, such as KDE.
- Install a VNC server.
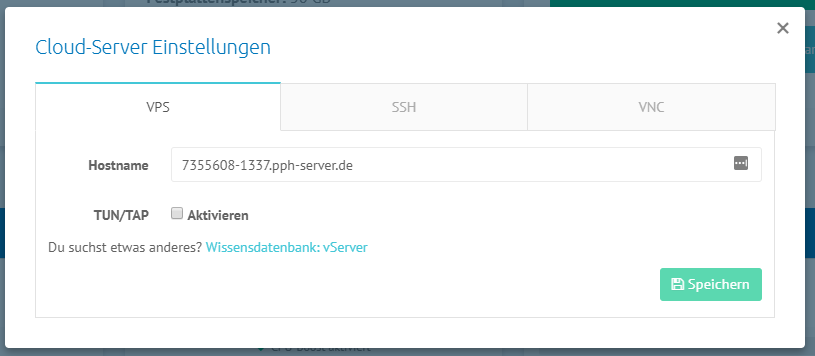
- Configure the VNC server so it runs the correct X server.
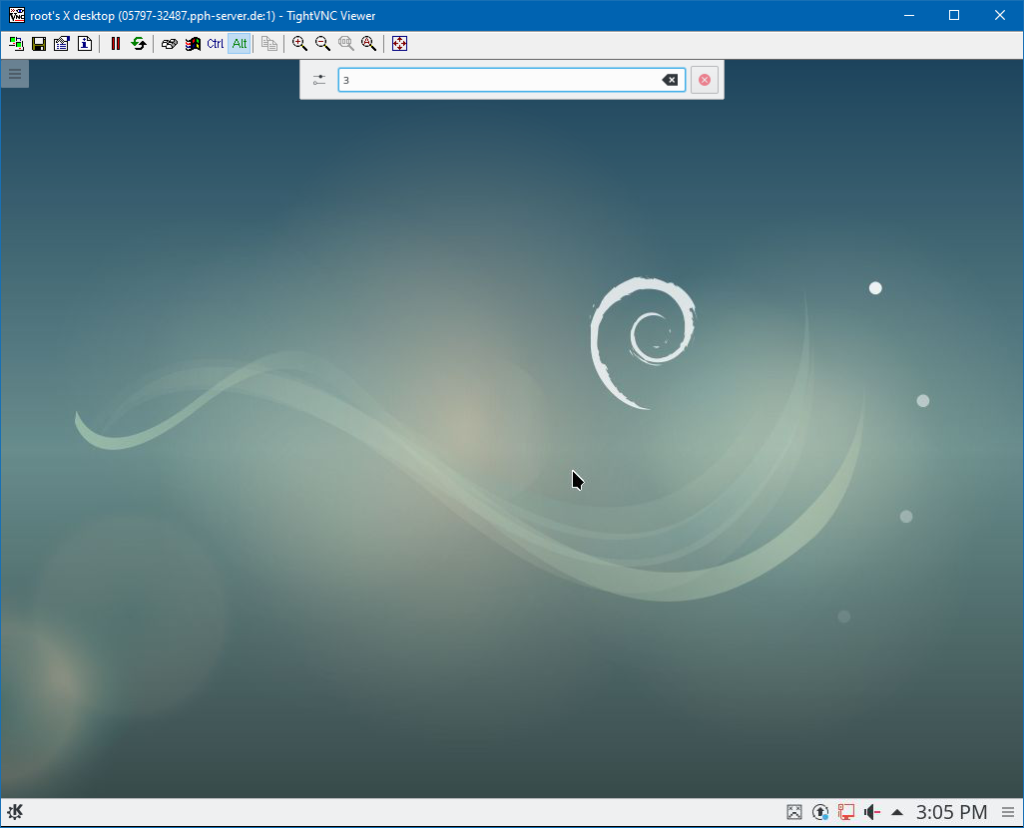
- Connect to your VNC server using a VNC client.
Disadvantages of GUI on KVM Servers
We recommend once again to avoid using a GUI. Here are the reasons:
Resource Consumption: A GUI uses more resources. A vServer without a GUI uses much less RAM when idle.
No Graphics Cards: Our host systems don’t have graphics cards, so there is no hardware acceleration. The CPU has to handle graphic rendering, which can make the GUI feel slow.
Most of the time, there are better and less demanding ways to run programs. The Linux console might seem intimidating at first, but once you get used to it, you’ll find that the commands are quite straightforward.