We offer you a convenient and fast way to install a database server in our app installer. You need this for example for game servers, plugins or websites.
For administration you can also install phpMyAdmin automatically.
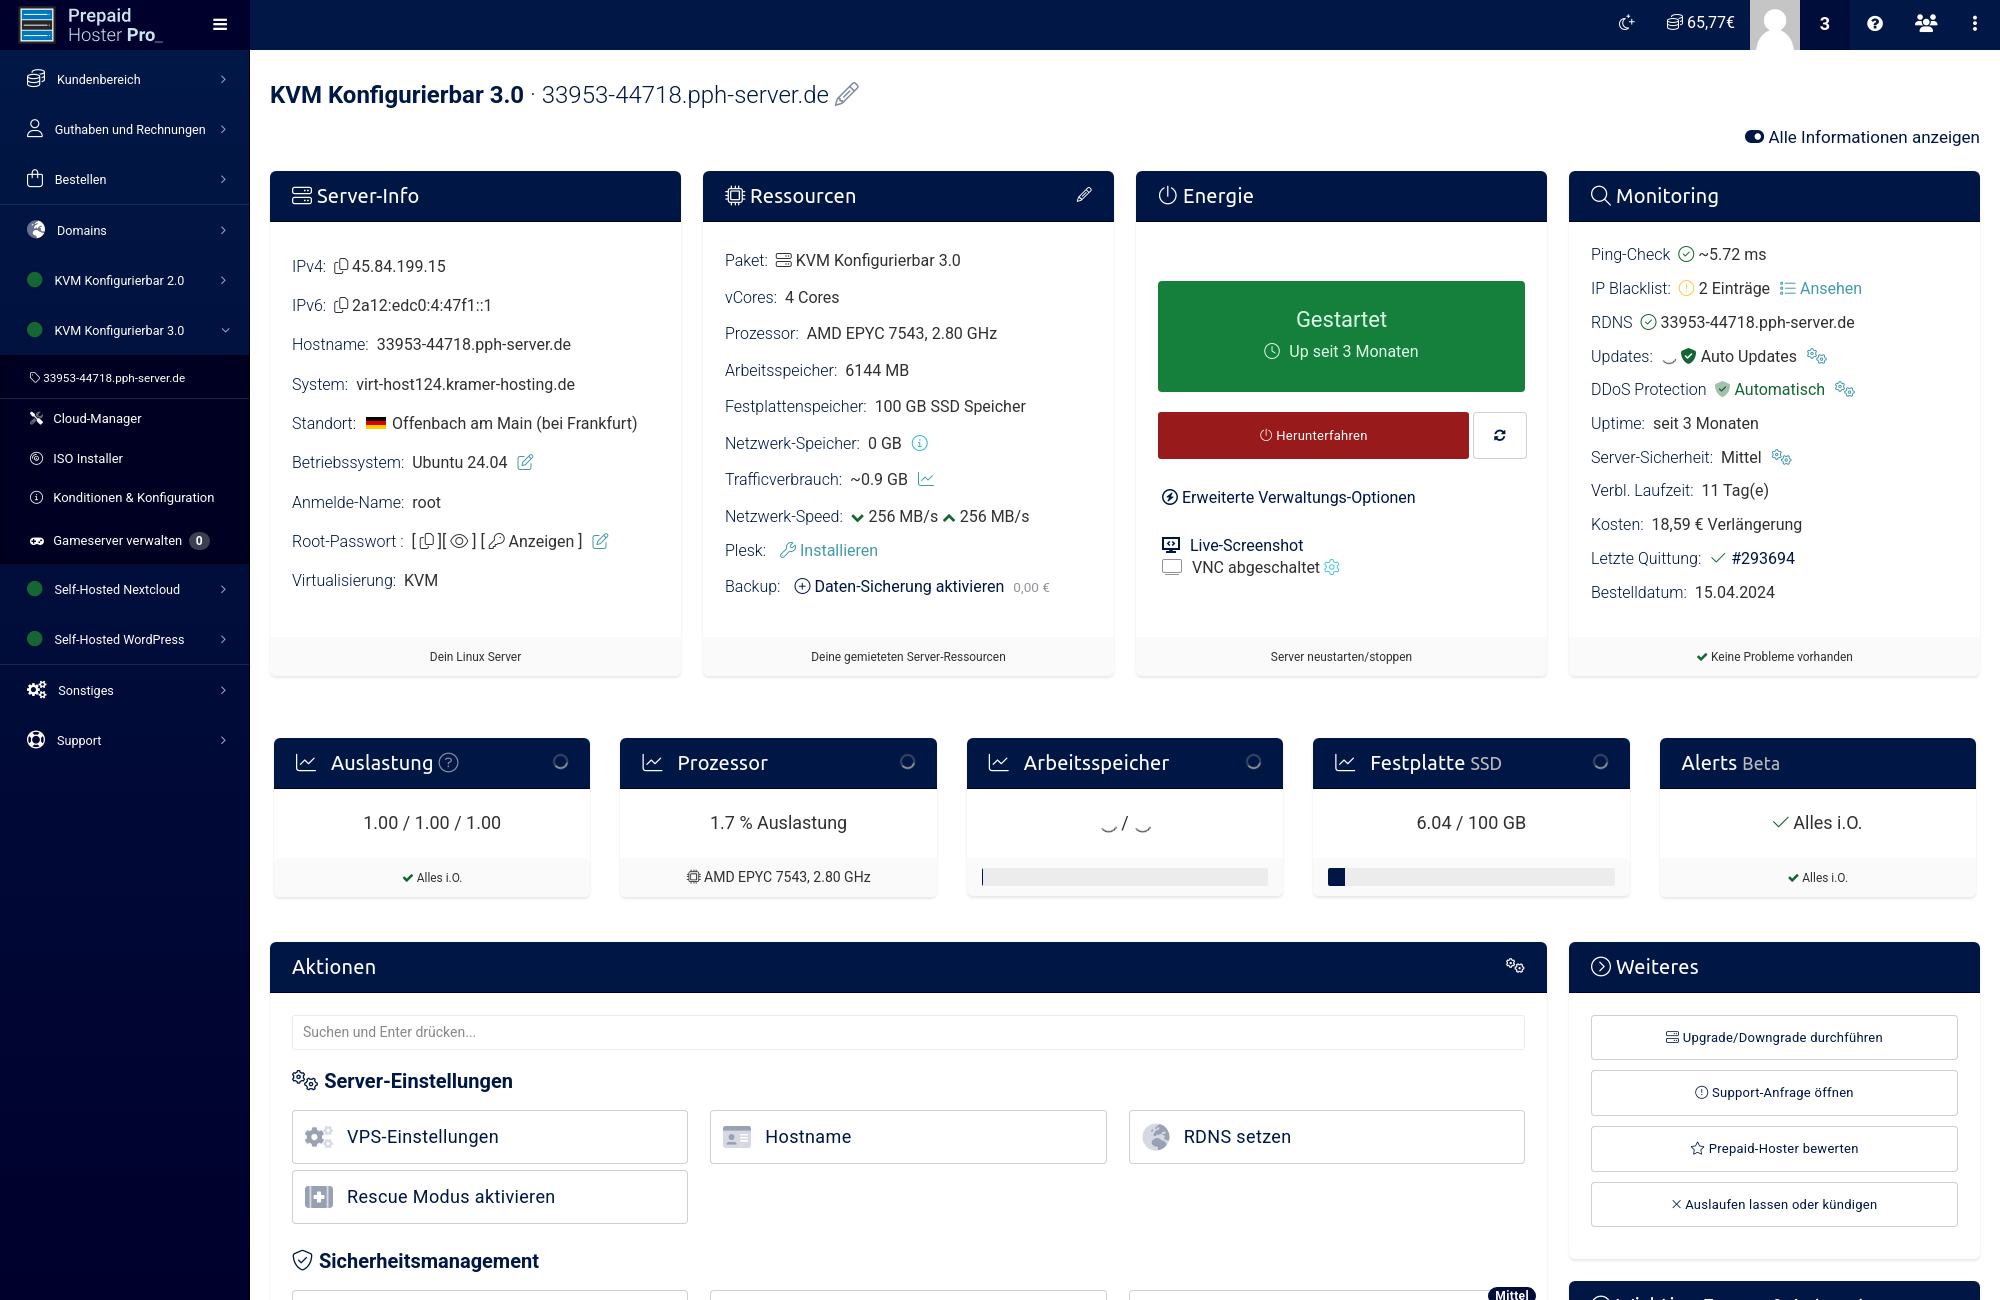
In the web interface, click on the server on which you want to install a database and open the associated cloud manager.
Scroll down to the “Actions” box and select “App Installer”.
Select the “Web Server Utilities” app.
Select all packages:
Apache2 for phpMyAdmin
PHP 7.4 for phpMyAdmin
MariaDB (database server)
Choose a MySQL root password
phpMyAdmin
Click Start installation to start the installation. This process will take 2-3 minutes.
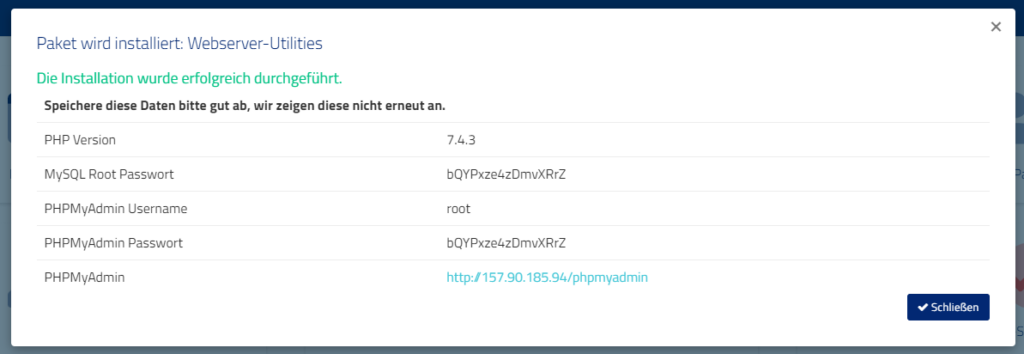
When the process is complete, you will receive login credentials.
We will install the administration interface for your database so that it is accessible at http://IP/phpmyadmin.
The username for the database is “root”.
The access data for the database will be shown to you after the installation. You will also find the MySQL root password on your server in the hidden file /root/.mysql-password.
mysqli_real_connect(): (HY000/1698): Access denied for user ‚localhost’@’localhost‘
If the login to phpMyAdmin does not work, please proceed as follows:
Log in to your server via Putty or similar in SSH and enter the following command:
MYSQL_PWD=$(cat /root/.mysql-password) echo "ALTER USER 'root'@'localhost' IDENTIFIED VIA mysql_native_password USING PASSWORD('$MYSQL_PWD');" | mysql
This will reset the MySQL password again if only socket authentication is available after installation.
If you still have problems or a question, feel free to contact us in support.
In this article we will explain you why your server can be unreachable and how you can solve it.
There can be several reasons why the server is unreachable.
Your server was locked due to overload
We lock servers sometimes. But never for no reason. For example, we have to shut down your server if it generates too much load. Please contact our support. We will discuss everything together.
Dein Server wurde wegen Abuse-Meldungen gesperrt
We will block your server immediately if we detect any unusual activity on your server. This can happen, for example, if your server has been hacked. Then it sends malicious software to other servers. We have to prevent this. In this case, please contact our support team.
You have changed the SSH port
You may think that your server is not working because you cannot reach the server via SSH. This can happen if you have changed the SSH port, for example. Then your server is no longer reachable on the default port. You can check the current SSH port in the web interface under “SSH data”.
You have activated a firewall
Maybe you activated a firewall and forgot to unlock a port? Or maybe you locked yourself out? This can happen, for example, if you have installed Fail2Ban and have authenticated yourself 3 times incorrectly on the SSH server. No problem! Just contact support and we will take care of it.
The problem is up to us
It may happen that one of our host systems is unavailable. Our status web page can provide you with more details.
We usually respond to outages immediately, solve the problem and bring all host systems back up. However, if we do not find the problem immediately, it may take a little longer.
Reimbursement Policy
Information about our goodwill promise can be found here: https://www.prepaid-hoster.de/info/kulanz-und-gewaehrleistung.html
The rotation describes how many backups are stored retroactively when a new backup is created. We also call this slots.
The oldest backup is always deleted if the number of slots would be exceeded at backup creation.
Example: You have rented Backup Premium with 5 slots. You have set that you want to create a backup every day. After 5 days 5 backups have been created. On the 6th day the backup from the first day is deleted so that a maximum of 5 slots are in use.
If you have any questions, please feel free to contact us.
Resetting Your MySQL/MariaDB Root Password: Here’s How
If you forget your root password for MySQL or MariaDB, it can be quite frustrating. But don’t worry, you can quickly resolve this issue with a few simple commands. Here’s how you can reset the root password to regain full access.
Prerequisites
Before you start, make sure you can establish an SSH connection to your server. This is necessary to perform the following steps.
Step 1: Establish Connection
SSH Connection: Connect to your server via SSH and open the root command line.
Test MySQL Server: Check if you might still have access to the MySQL server by entering the command mysql. If you don’t get an authentication error, you are already logged in and can skip to the next section.
Step 2: Start MySQL Without Privilege Tables
To reset the password, MySQL needs to be started in a mode where the privilege checking is disabled. This should only be done for the duration of the password reset, as in this mode anyone can access all databases.
Stop MySQL Server: Enter the following command to stop the MySQL server:
systemctl stop mysql
Start MySQL in Unsafe Mode: Start the MySQL server in unsafe mode:
mysqld_safe --skip-grant-tables &
You should now see an output indicating that MySQL has started in unsafe mode.
Step 3: Reset Password
Now you can change the password for the root user:
Open MySQL Console: Open the MySQL console:
mysql
Change Password: Set a new password for the root user:
update mysql.user set authentication_string=password('new-password') where user = 'root';
flush privileges;
quit;
Step 4: Restart MySQL Server
After resetting the password, the MySQL server needs to be restarted in safe mode again:
Stop Unsafe MySQL Server:
pkill -f mysql
Start Normal MySQL Server:
systemctl start mysql
Step 5: Test New Credentials
Now test if the new password works:
Command Line: Log in with the new password:
mysql -uroot -p
Enter the new password when prompted.
phpMyAdmin: Alternatively, you can also test access via phpMyAdmin.
If everything worked, you should have full access to your MySQL or MariaDB server again.
When connecting to Remote Desktop, an error message appears that contains “Internal Error” or “Internal Error”.
Problem Description
According to current estimates, the problem occurs when a botnet tries to attack open RDP servers. These do not close the connection properly, so the connection queue fills up. We can currently assume that changing the RDP port will result in a permanent fix, since the botnets only attack the default port.
Problem solution: Change RDP port
Log in via WebVNC. You will find the data and access to it in the web interface.
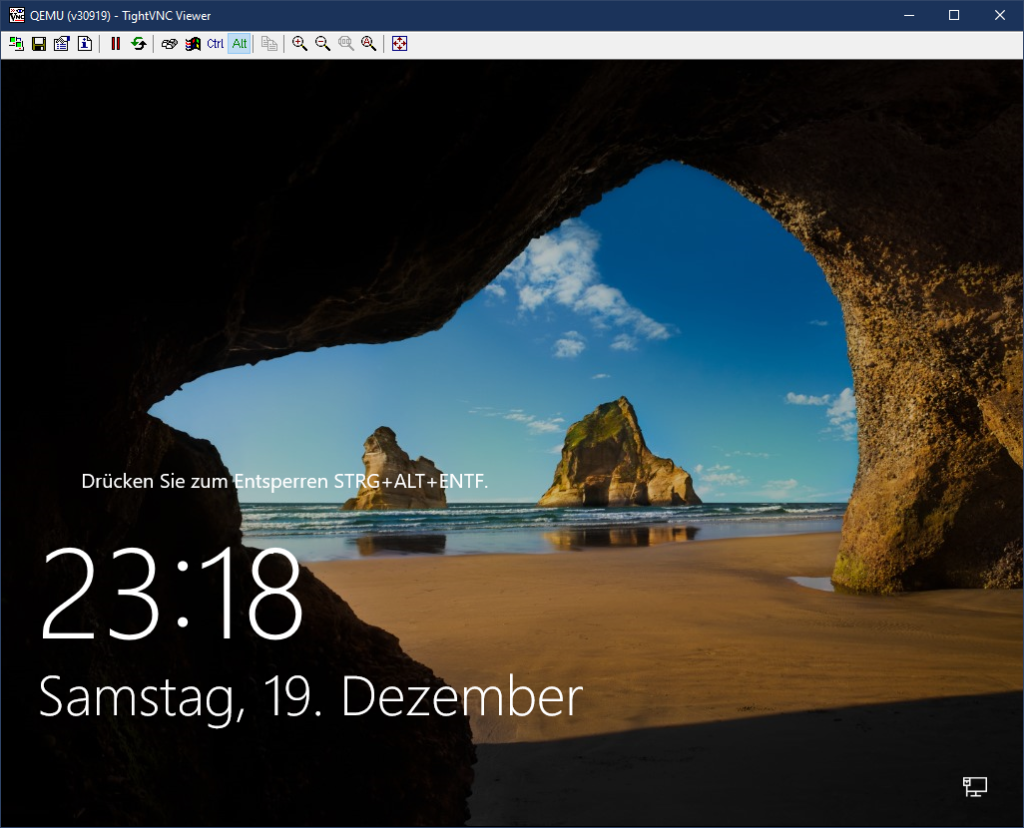
Unlock the screen by sending the VNC program “CTRL+ALT+DEL“.
Log in to the administrator account. Note: It is possible that an American keyboard layout prevails in the VNC window. Check the password with the “View password in plain text” function in the right area of the input mask. Z and Y may be reversed.
On the remote server, after logging in, open the start bar and type “regedit”.
Search in the key tree on the left for the following key:
HKEY_LOCAL_MACHINE > System > CurrentControlSet > Control > TerminalServer > WinStations > RDP-Tcp.
Open the key folder and search for “PortNumber“.
Double click to open a small window. Select “Decimal“. In the input field enter the desired port. Example: 3390, 3391, 3392, 9999. Important: The port must be free!
IMPORTANT: Make sure that the new port is released by the Windows Firewall!
Restart the server.
After that, the server is accessible via the new port. You have to append the port to the IP address when connecting to the server, for example: 10.10.2.4:3390
If you have any questions, please contact our support team.
If you want to upgrade your KVM server or your virtual server, you may ask yourself if the data will be preserved. The answer is very simple: Yes, the data will be preserved. You do not have to start from scratch.
This is also true if you upgrade your hard disk space. We only increase the size of the server’s hard disk. Your data will remain untouched.
However, please note that it is always advisable to create a backup of all data on an external disk. In case of a technical error, you can then restore your work.
To change the root password of your virtual server, go to the Cloud Manager (vionity.de) and click on “Root Password” in the actions menu. A dialog box will open where you can enter the new root password. After submitting, your password will be reset immediately.
If you have any problems, please contact our support team for assistance.
Important Information:
You should disable root password authentication and only use it when accessing your server via VNC. Instead, use SSH keys.
The server must be turned on for the root password to be changed live.
To reset to the default password, you can click âUse [ Show ] as passwordâ in the dialog. The default password will then be automatically inserted in the fields.