By default, SSH uses port 22. In some cases, it might be a good idea to change your server’s SSH (Secure Shell) port. We will explain why and show you different ways to change the SSH port on your server.
Why?
Changing the default SSH port (22) can help reduce automated brute force attacks, as many bots target only known ports. Although this is not a complete security measure, it makes it harder for attackers to find the service and can significantly reduce unwanted login attempts. Additional security measures like Fail2Ban or an SSH key authentication system should still be used.
Change the SSH Port using Vionity

- Open the Cloud Manager of the server where you want to change the SSH port.
- Click on VPS Settings.
- Open the tab named “SSH”.
- Enter the desired SSH port in the “Change SSH Port” field. Be sure to use a free port above 1024.
- Click “Save”.
- The configuration will be updated in the background, and your SSH server will be restarted.
Important: If you are using a software firewall (iptables, ufw, firewalld), you must open the port first. If you forget to do this, you can easily fix it using VNC.
Manually Edit the Configuration
You can also manually edit the SSH server configuration. Here’s how.
- Connect to your Linux server via SSH.
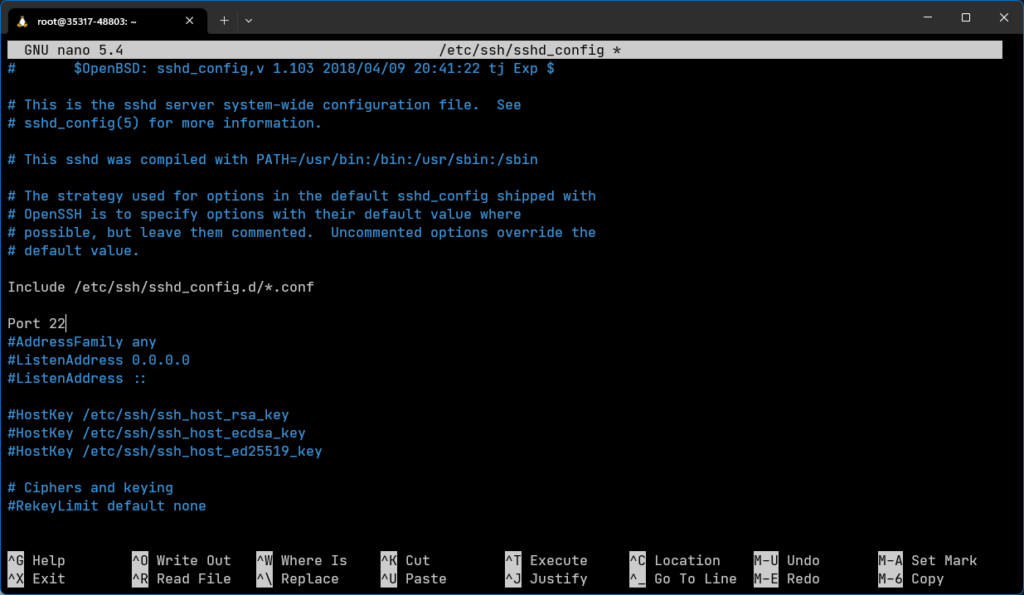
- Open the file
/etc/ssh/sshd_configwith an editor like “nano”. - Find the line that contains “Port”. If it doesn’t exist, create it close to the top. Ensure the line doesn’t start with “#”. If it does, remove the “#”, otherwise the SSH server will ignore it.
- Write the number you want to use as the SSH server port after “Port”. For example,
Port 2222. Choose a port between 1024 and 65565.

- Save the file.
- Check if the configuration is read successfully using the command “ssh -T”. If an error appears, check your configuration.
- Restart the SSH server (
service ssh restart), but don’t close the SSH window yet. - Open a new SSH window and test the connection. If something doesn’t work, you can still use the first open session to fix the issue.
When Should I Not Change the SSH Port?
If your server is protected by a DDoS shield and runs a program that requires this protection, you should not change the SSH port. The reason is that the firewall can only reliably identify legitimate SSH traffic on the default SSH port (22). If the port is changed, the firewall might not recognize the SSH traffic correctly, leading to your connection being suddenly dropped and your IP address being blocked for a few minutes.