How can I clone my server?
Cloning a server at Prepaid-Hoster is an easy process that you can complete in a few steps. Here’s how you can clone your server.
Step 1: Enable Data Backup
First, turn on data backup on your old server. This is important to ensure that all your data is securely stored.
Step 2: Create a Backup
Create a backup of your server. This will be used as a template for cloning.
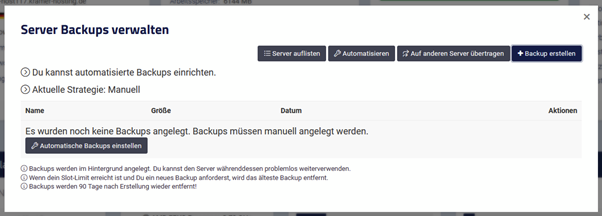
- Go to the Backup Section: Sign in to the web interface and navigate to the backup section of your server.
- Start the Backup: Click on “Create Backup.” You may be asked to enter a name and description for the backup.
- Wait for Completion: The backup process can take a few minutes to several hours, depending on the size of your data.
Step 3: Get a New Server
Get a new server that has at least the same amount of disk space as the original server. This is necessary to transfer the backup to the new server.
Step 4: Transfer Backup
In the management area, select the option “Clone from Backup.”

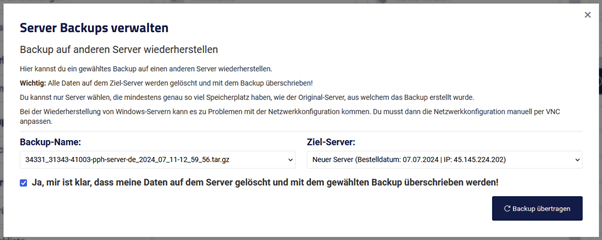
- Select the Backup: In the clone section, choose the previously created backup from the list.
- Select Destination Server: Choose the new server to which the backup should be transferred.
- Confirm: Check the box “Yes, I understand that my data on the server will be deleted and replaced with the chosen backup!”
Step 5: Start Cloning Process
Click on “Transfer Backup” and confirm. You will then be redirected to the maintenance window. The server will shut down, the backup will be downloaded, and installed on the new server. This process can take varying amounts of time depending on the size of the disk.

Following these steps should help you successfully clone your server. If you have any further questions, our support team is always here to help.