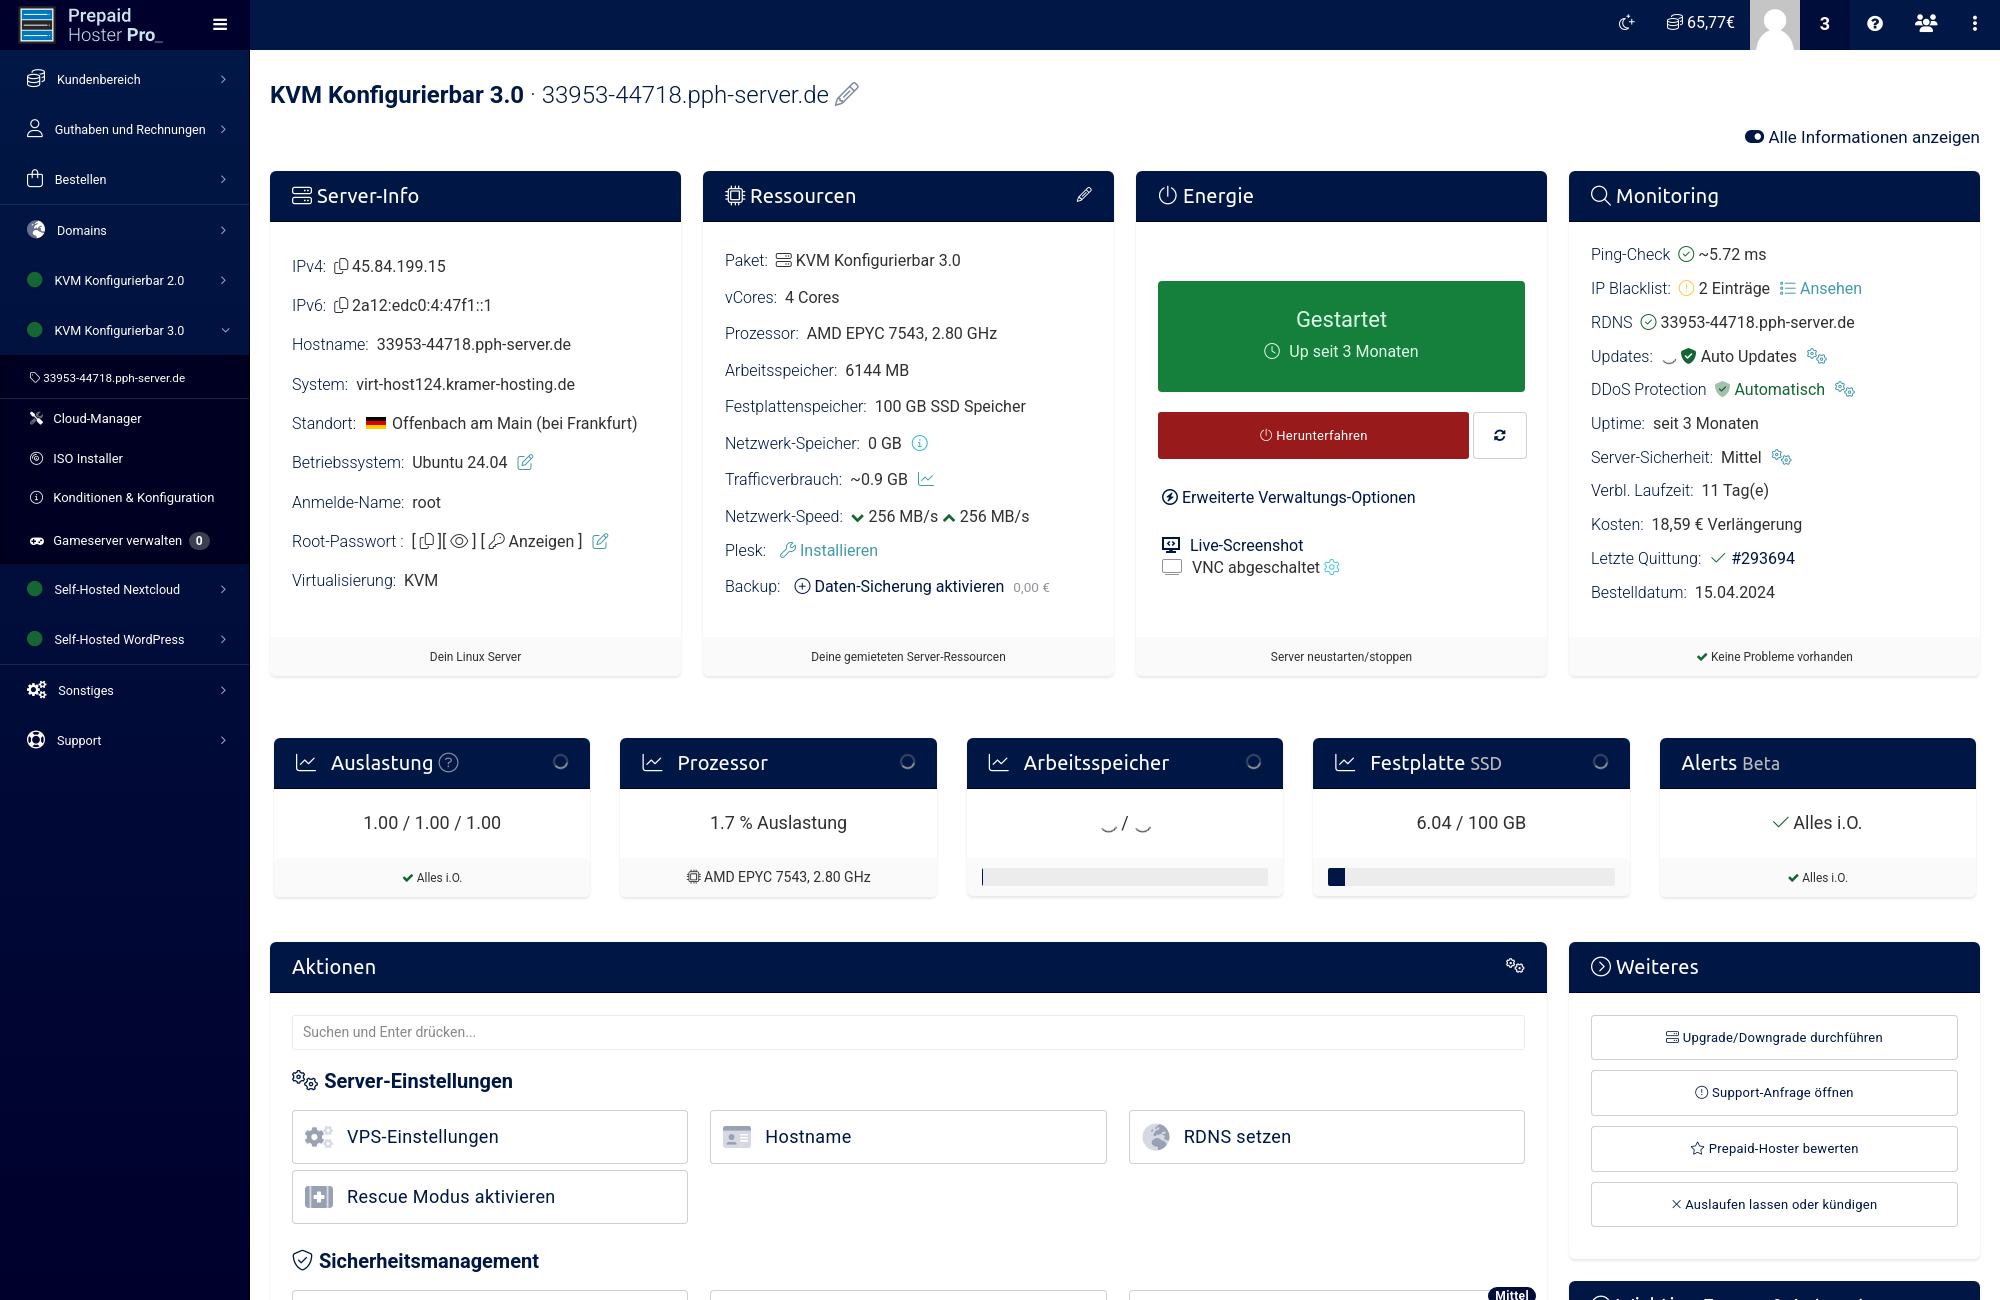
For all virtual servers, up to 600 MBit/s network bandwidth is available by default. This applies to both upload and download.
In some cases it can happen that your upload does not match the download. If this bothers you, please contact our support. We will be happy to help you and adjust it correctly.
Difference between MBit/s and MB/s
Sometimes customers ask us why they only have 75 Mbps or why their network speed is not 600 Mbps. We then always have to emphasize that there is a difference between MBit (megabit) and MB (megabyte).
1 megabyte results in 8 megabits. Accordingly: 600 megabits are 75 megabytes.
If you have any questions, please feel free to contact our support.
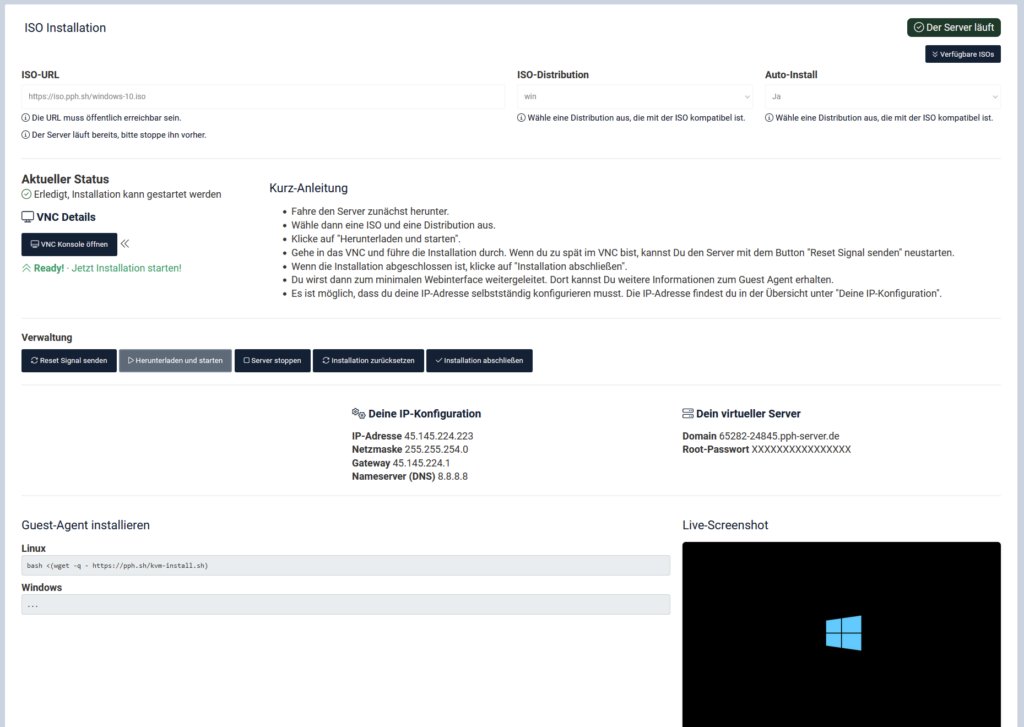
Yes, you can use your own ISO files to install operating systems with Prepaid-Hoster. You can either choose from a list of our ISO files or provide your own. There are no costs involved, and the storage for the installation is free. To do this, you need to first enable the ISO functionality in the expert settings in the VCP settings.
How Do I Enable the ISO Function for My Server?
To enable the ISO function for your server, you first need to log into Vionity and then:
Open the VCP settings
Go to the “Expert Functions” tab
Set “Enable ISO Upload for KVM Servers” to enabled.
Please note, we can only offer a basic web interface if you do not install a guest agent.
Attention: This function is only available for KVM servers (configurable and package). It is technically not possible with OpenVZ servers.
ISO Installer
If you have not set up a server using an ISO before, it might be better to use a predefined operating system template. We only offer basic support for installing ISO files.
Using Your Own ISO File
To use your own ISO file, you need an HTTP link. Vionity will download this file and attach it to your server.
ISO Files
We offer the following ISO files on our web interface that can be installed on KVM servers:
When you try to change the resources to your KVM server via the web interface, we always check in the background immediately and automatically whether the desired performance is available. We always need to provide enough performance buffers so that all customers can access their guaranteed performance.
We do not overbook KVM host systems!
It is important to us that our KVM server host systems are not overbooked. This is essential to maintain the quality. Only this way we can keep the quality in a good condition.
If your upgrade is not available due to technical limits, you will have to wait a while. This message means that an upgrade would lead to overbooking of the host system.
In such a case we cannot perform the upgrade for you.
Ok, when can I upgrade then?
As soon as the resources become free due to cancellations or expiration of servers of other customers, you can perform the upgrade.
I can’t wait!
If you need the upgrade immediately, you may be able to rent a new KVM server. This will then be automatically created on a host that has sufficient resources available. Please check beforehand if KVM servers are in stock. You will be informed about this in the order process.
I want to reduce my hard disk space
Please note that KVM server hard disk space cannot be downgraded under any circumstances. This is due to technical conditions of the virtual hard disk.
If you have any questions about this, please contact our support team.
We offer you a convenient and fast way to install a database server in our app installer. You need this for example for game servers, plugins or websites.
For administration you can also install phpMyAdmin automatically.
In the web interface, click on the server on which you want to install a database and open the associated cloud manager.
Scroll down to the “Actions” box and select “App Installer”.
Select the “Web Server Utilities” app.
Select all packages:
Apache2 for phpMyAdmin
PHP 7.4 for phpMyAdmin
MariaDB (database server)
Choose a MySQL root password
phpMyAdmin
Click Start installation to start the installation. This process will take 2-3 minutes.
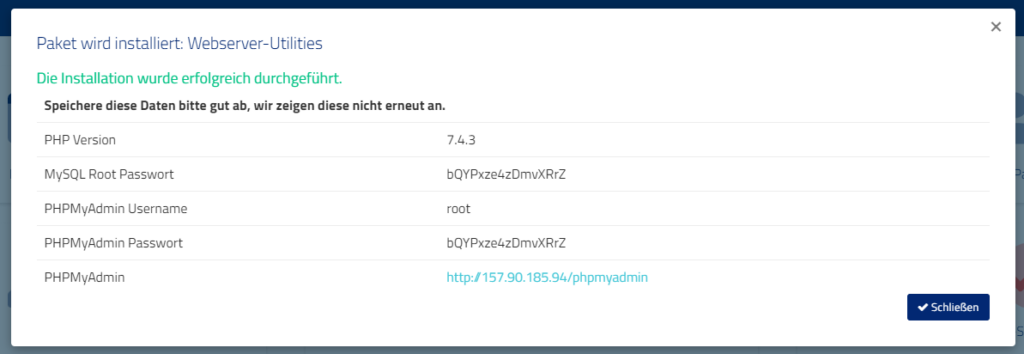
When the process is complete, you will receive login credentials.
We will install the administration interface for your database so that it is accessible at http://IP/phpmyadmin.
The username for the database is “root”.
The access data for the database will be shown to you after the installation. You will also find the MySQL root password on your server in the hidden file /root/.mysql-password.
mysqli_real_connect(): (HY000/1698): Access denied for user ‚localhost’@’localhost‘
If the login to phpMyAdmin does not work, please proceed as follows:
Log in to your server via Putty or similar in SSH and enter the following command:
MYSQL_PWD=$(cat /root/.mysql-password) echo "ALTER USER 'root'@'localhost' IDENTIFIED VIA mysql_native_password USING PASSWORD('$MYSQL_PWD');" | mysql
This will reset the MySQL password again if only socket authentication is available after installation.
If you still have problems or a question, feel free to contact us in support.
In this article we will explain you why your server can be unreachable and how you can solve it.
There can be several reasons why the server is unreachable.
Your server was locked due to overload
We lock servers sometimes. But never for no reason. For example, we have to shut down your server if it generates too much load. Please contact our support. We will discuss everything together.
Dein Server wurde wegen Abuse-Meldungen gesperrt
We will block your server immediately if we detect any unusual activity on your server. This can happen, for example, if your server has been hacked. Then it sends malicious software to other servers. We have to prevent this. In this case, please contact our support team.
You have changed the SSH port
You may think that your server is not working because you cannot reach the server via SSH. This can happen if you have changed the SSH port, for example. Then your server is no longer reachable on the default port. You can check the current SSH port in the web interface under “SSH data”.
You have activated a firewall
Maybe you activated a firewall and forgot to unlock a port? Or maybe you locked yourself out? This can happen, for example, if you have installed Fail2Ban and have authenticated yourself 3 times incorrectly on the SSH server. No problem! Just contact support and we will take care of it.
The problem is up to us
It may happen that one of our host systems is unavailable. Our status web page can provide you with more details.
We usually respond to outages immediately, solve the problem and bring all host systems back up. However, if we do not find the problem immediately, it may take a little longer.
Reimbursement Policy
Information about our goodwill promise can be found here: https://www.prepaid-hoster.de/info/kulanz-und-gewaehrleistung.html
The rotation describes how many backups are stored retroactively when a new backup is created. We also call this slots.
The oldest backup is always deleted if the number of slots would be exceeded at backup creation.
Example: You have rented Backup Premium with 5 slots. You have set that you want to create a backup every day. After 5 days 5 backups have been created. On the 6th day the backup from the first day is deleted so that a maximum of 5 slots are in use.
If you have any questions, please feel free to contact us.
Resetting Your MySQL/MariaDB Root Password: Here’s How
If you forget your root password for MySQL or MariaDB, it can be quite frustrating. But don’t worry, you can quickly resolve this issue with a few simple commands. Here’s how you can reset the root password to regain full access.
Prerequisites
Before you start, make sure you can establish an SSH connection to your server. This is necessary to perform the following steps.
Step 1: Establish Connection
SSH Connection: Connect to your server via SSH and open the root command line.
Test MySQL Server: Check if you might still have access to the MySQL server by entering the command mysql. If you don’t get an authentication error, you are already logged in and can skip to the next section.
Step 2: Start MySQL Without Privilege Tables
To reset the password, MySQL needs to be started in a mode where the privilege checking is disabled. This should only be done for the duration of the password reset, as in this mode anyone can access all databases.
Stop MySQL Server: Enter the following command to stop the MySQL server:
systemctl stop mysql
Start MySQL in Unsafe Mode: Start the MySQL server in unsafe mode:
mysqld_safe --skip-grant-tables &
You should now see an output indicating that MySQL has started in unsafe mode.
Step 3: Reset Password
Now you can change the password for the root user:
Open MySQL Console: Open the MySQL console:
mysql
Change Password: Set a new password for the root user:
update mysql.user set authentication_string=password('new-password') where user = 'root';
flush privileges;
quit;
Step 4: Restart MySQL Server
After resetting the password, the MySQL server needs to be restarted in safe mode again:
Stop Unsafe MySQL Server:
pkill -f mysql
Start Normal MySQL Server:
systemctl start mysql
Step 5: Test New Credentials
Now test if the new password works:
Command Line: Log in with the new password:
mysql -uroot -p
Enter the new password when prompted.
phpMyAdmin: Alternatively, you can also test access via phpMyAdmin.
If everything worked, you should have full access to your MySQL or MariaDB server again.