You can easily create a free certificate in the Plesk web interface, which is also valid for all subdomains. We describe how to do it.
Request Wildcard SSL Certificate
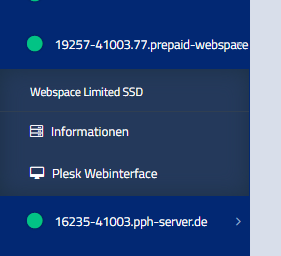
- Log in to the Plesk web interface
- In the list, find the domain to which you want to add an SSL certificate.
- Open the DNS management of the domain in the background. Make sure that the domain is connected to your web hosting.
- In the Plesk web interface, click on “SSL/TLS Certificates” for your domain.
- Click on “Issue SSL certificate
- In the sidebar that opens, select “Install free basic certificate from Let’s Encrypt”.
- In the window that opens, check “Protect wildcard domain (including www and webmail)”.
- Click on “Use for free” and wait a moment.
- A screen with the headline “SSL/TLS wildcard certificate from Let’s Encrypt is issued for domain XYZ” will open.
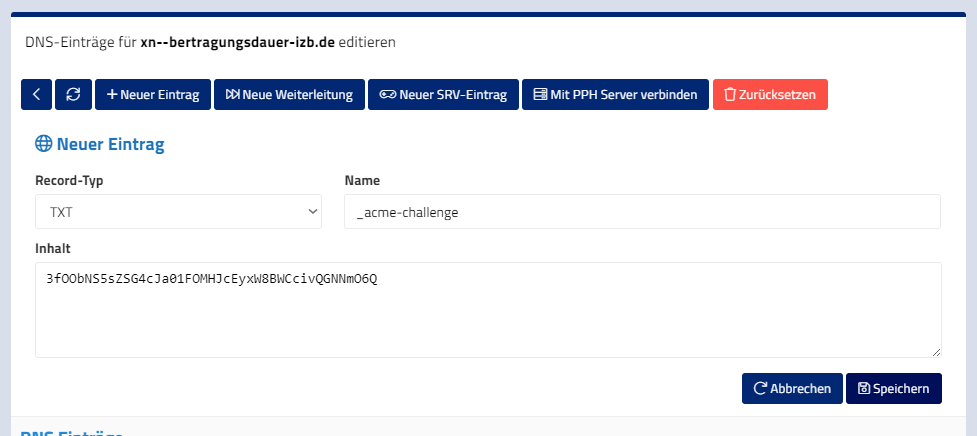
- Copy the cryptic looking string, for example “3fOObNS5sZSG4cJa01FOMHJcEyxW8BWCcivQGNNmO6Q” to the clipboard
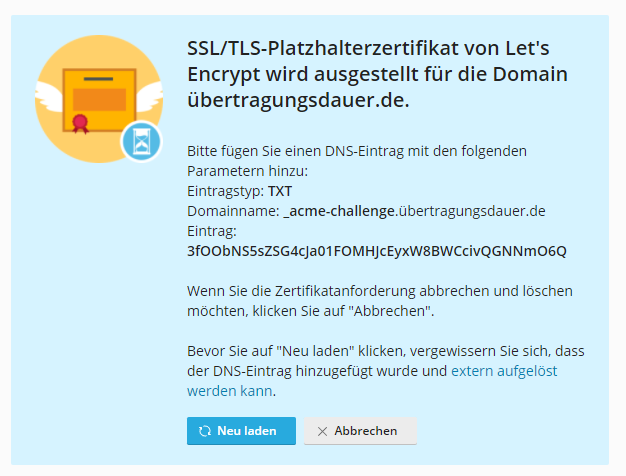
Configure DNS
- Open the DNS administration and click on “New entry”.
- Set:
- Type: TXT
- Name: _acme-challenge
- Content: (your copied string)
- Save the entry
Install certificate
- Go back to the Plesk administration interface
- Click on “Reload” in the dialog and wait a moment
- The certificate will now be installed and activated for all subdomains
If you have any questions or problems, please contact our support. We will help you then!