How do I create a DKIM?

DKIM is an important method for securing email communication and preventing email fraud. In this article we will take a closer look at DKIM, how it works, why it is relevant for your Plesk server and how you can implement it effectively.

When sending and receiving emails through your Plesk-based hosting service, it is essential to ensure the security and authenticity of your emails. Read on to learn more about DKIM and how you can protect your email communications.

Required for many email providers

Mail providers, such as Google’s gmail, no longer accept emails without a valid DKIM. This is how companies proceed to protect their customers from mail spam.

Where can I find the DKIM in Plesk?

Step 1: Log in to Plesk and navigate to your domain. Click on the “Email” tab and then go to the “Email settings”.

Plesk E-Mail Settings

Step 2: In the settings, activate the check mark for “Use DKIM spam protection system to sign outgoing e-mail messages”. Then click “Apply”.

Step 3: Click on “Configure external DNS” to get the key information for your DKIM:

DKIM Key

You need:

  • default._domainkey.dezio.dev. IN TXT "v=DKIM1; p=MIGfMA0GCSqGSIb3DQEBAQUAA4GNADCBiQKBgQDJzy799GTmmolxda8Zd+HF18w11Zjs3QiP4R7LvtBTe9saLVvowLoBWjXh3YFMcT7Cs07hAMVPjJdcYeHVaa9k7Yy7m+PXXraVlZKtOjPw8MqhV6zyOI6YQ+k1tzh6cq7Yvj1W/C7HyMMBsiXh4NUNq+ksh9s5k1uCyYYM4uO2WQIDAQAB;"
  • _domainkey.dezio.dev. IN TXT "o=-"

How do I store the DKIM in the DNS Manager?

Now open Vionity and search for your domain in the navigation. Click on the corresponding DNS management.
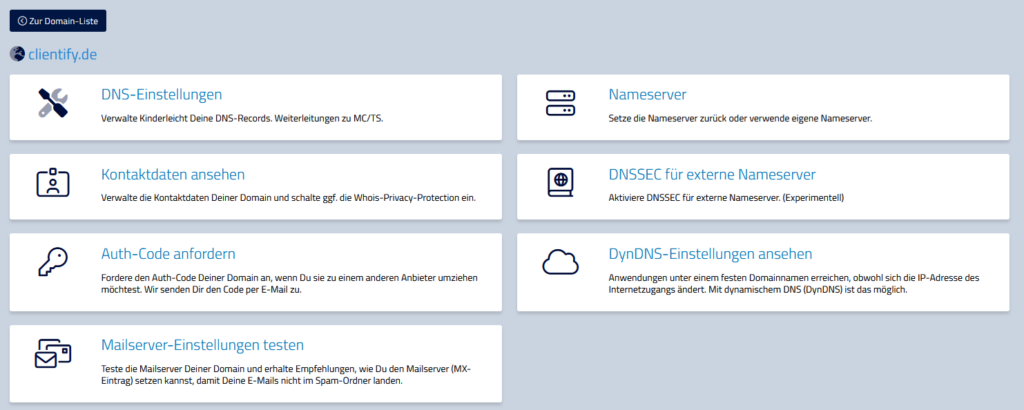
Vionity Domain Management

Then click on “+entry”.

Add the default._domainkey key:

  • Record-Type: TXT
  • Name: default._domainkey
  • Content: The key provided by plesk "v=DKIM1; p=MIGfMA0GCSqGSIb3DQEBAQUAA4GNADCBiQKBgQDJzy799GTmmolxda8Zd+HF18w11Zjs3QiP4R7LvtBTe9saLVvowLoBWjXh3YFMcT7Cs07hAMVPjJdcYeHVaa9k7Yy7m+PXXraVlZKtOjPw8MqhV6zyOI6YQ+k1tzh6cq7Yvj1W/C7HyMMBsiXh4NUNq+ksh9s5k1uCyYYM4uO2WQIDAQAB;" (mit Anführungszeichen!)
  • Save!

Then create the _domainkey:

  • Record-Type: TXT
  • Name: _domainkey
  • Content: "o=-" (mit Anführungszeichen!)
  • Save!

Your DKIM is now stored. The reliability of your e-mail delivery is now increased. Please note, however, that there may still be problems with sending e-mails, as many other factors play a role.

My IP address is on a block list

IP address on block list – What to do?

If your IP address is on a block list, it means that it has been identified as a source of spam or other unwanted content. This can cause emails sent from your server to be blocked by certain email providers, such as Gmail or Yahoo.

The error message may look something like this:

SMTP error 550: 5.7.1 
Recipient not authorized, your IP has been found on a block list

Especially annoying: Outlook

Learn why Microsoft has blocked some IP address ranges and how we are working to improve email delivery quality.

Why can’t I send emails to Gmail or other email providers if my IP address is on a block list?

Email providers use block lists to filter unwanted emails and spam. If your IP address is on a block list, this can cause the emails sent from your server to be blocked by these providers. This can lead to important emails not being delivered and your communication being affected.

What can I do if my IP address is on a block list?

If your IP address is on a block list, you should contact our customer support. We can provide you with “clean” IP addresses that are not on block lists. This will ensure that your emails are delivered and your communication goes smoothly. Note, however, that in this case we need to know what kind of mail traffic you are sending. For private applications, we are guaranteed to always find a solution. For larger projects, such as transactional mails, we recommend other solutions.

Use DKIM & SPF

The use of DKIM and SPF can improve email delivery by verifying the authenticity of emails and ensuring that they come from a trusted sender.

DKIM (DomainKeys Identified Mail) is a method of verifying the authenticity of emails using digital signatures. It involves embedding a digital signature in the header of the email, which is verified by the receiving domain. If the signature is valid, the e-mail is classified as authentic and delivery is facilitated.

SPF (Sender Policy Framework), on the other hand, is a system that prevents emails from being sent from unauthorized servers. It involves creating an entry in the domain’s DNS record that specifies which servers are authorized to send email on behalf of the domain. When the receiving domain verifies that the server sending the email is listed in the SPF record of the sender domain, the email is delivered.

Using DKIM and SPF can improve email delivery because these systems verify the authenticity of the email and ensure that it comes from a trusted sender. This reduces the risk of emails being blocked by spam filters or moved to the spam folder, resulting in a higher delivery rate and improved communication.

How do I install WordPress?

Thanks to our web interface you can install Webinterface with a few clicks.

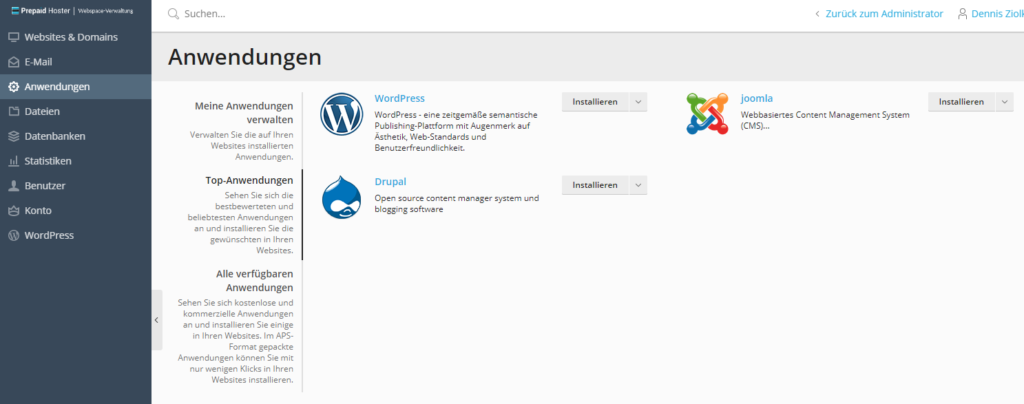
To do so, log in to the web interface at plesk.prepaid-hoster.com. Click on Applications.

Now select WordPress and click on “Install“.

The installation will now be executed.

After the installation you will be redirected to the application overview page. Here you will find all important information about the application and the login data for the respective administration backend.

Where Can I Find phpMyAdmin?

In this article, we explain where you can find phpMyAdmin (database management).

Log in to the web interface (host04.prepaid-hoster.de) and click on “Databases”.

Select the desired database and click on the phpMyAdmin icon. You will now be redirected.


If you have any questions, feel free to contact us.

Which apps can I install via One-Click?

In this article we list for you which well-known and popular software you can install directly in Plesk with a click. This is very easy, no annoying uploading of data necessary. Most apps can even be updated automatically via Plesk.

  • ePages
  • Drupal
  • Joomla
  • Magento
  • Mediawiki
  • Moodle
  • phpBB
  • Prestashop
  • WordPress
Install applications directly in Plesk

I cannot send E-Mails to Outlook/Live/MSN

Unfortunately, Microsoft has put some of our IP address ranges on a block list. For this reason (in particular) no emails can be sent from our web hosting server to recipients with Outlook, Live or MSN domain.

The error message that comes back then looks something like this:

<xyz@outlook.de>: host eur.olc.protection.outlook.com[104.47.14.33] said:
550 5.7.1 Unfortunately, messages from [51.89.85.77] weren't sent. Please
contact your Internet service provider since part of their network is on
our block list (S3140). You can also refer your provider to
http://mail.live.com/mail/troubleshooting.aspx#errors.
[VI1EUR04FT047.eop-eur04.prod.protection.outlook.com] (in reply to MAIL
FROM command)

We have already tried several times to have the IP addresses removed from this list. Unfortunately, Microsoft does not allow any changes here. We are also not given any indication as to what the reason for the blocking is. We are only referred to Guidelines, whose rules we follow as a hosting provider.

We protect the web spaces with strict limits regarding outgoing e-mails. Mass sending of spam is not possible from our web hosting systems. We have also informed Microsoft about this, but they have not responded.

To solve the problem, we are already working on an improved way to increase the delivery quality.

Some customers have already signaled their interest in dedicated IP addresses in the past. However, due to the IP address shortage, it is not possible to allocate dedicated IP addresses to individual customers.

We sincerely apologize for any problems that may have arisen.

How do I get a free SSL certificate for my domain?

In this article we describe how you can create a free Lets Encrypt certificate. You should secure all your domains with an SSL certificate so that the data is always encrypted when transferred over the Internet.

  • Log in to the Plesk web interface.
  • Find the domain you want to secure and click on “SSL/TLS Certificates“.
  • Click on “Use for free” to protect the domain with Lets Encrypt.
  • In the dialog that opens, enter your email address and click “Use for free“. The setup may take a few moments.
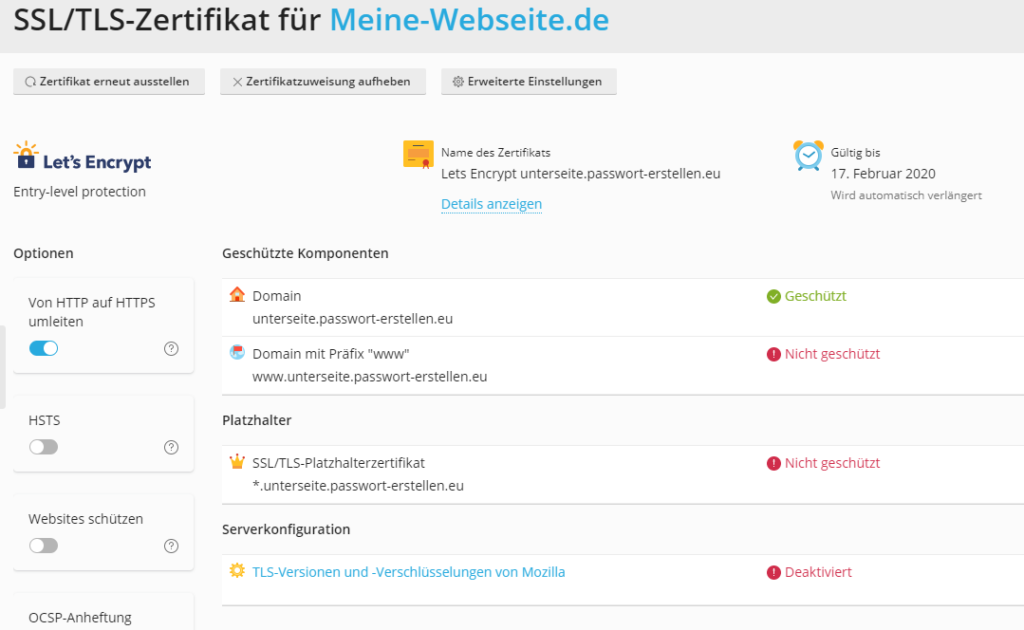
  • If everything worked, you will get the message “The SSL/TLS certificate has been installed on Meine-Webseite.de“.
Lets Encrypt administration in Plesk

Alternatively, you can request a wildcard Let’s Encrypt certificate that is valid for all subdomains. This way you only have to use one certificate if you use multiple subdomains for one domain.

My Plesk access is not working, what to do?

In this article we describe what you can do if your Plesk access is not working.

You already have another Plesk account

If you have already purchased a Plesk account with your customer account, then you will find every further web space package in this first account. This is also the case if your old web hosting package has been terminated for a longer period of time.

You have forgotten your password

No problem. Just go to the login page of the Plesk web interface and request a new password.

That didn’t help, now what?

No problem! Just log in to the Vionity web interface and write us a support ticket. We will help you quickly and in most cases give you the username and a new password. However, we can only process such a request if it was sent from your customer account.

How Do I Change the PHP Version?

In this article, I will show you how to easily change the PHP version for each domain. Versions PHP 8.0 to 8.3 are now available. Version 7.4 is still available for backward compatibility but is no longer recommended.

Changing the PHP Version

  1. Login to the Web Interface: Log in to the web interface (Plesk).
  2. Select Domain: Go to “Domains” and select the website for which you want to change the PHP version.
  3. Adjust PHP Settings: Click on “PHP Settings.”
  4. Select PHP Version: Choose the desired PHP version (8.0 to 8.3).
  5. Save Selection: Click “Ok” to save the new PHP version.

The new setting will be active after about 3 minutes.


FastCGI vs. FPM: What is the Difference?

  • FastCGI:
    • Performance: FastCGI offers better performance compared to traditional CGI because it doesn’t start a new process for each request.
    • Stability: FastCGI processes run isolated, which means they aren’t affected by crashes of other processes.
    • Usage: Ideal for smaller applications and websites with moderate traffic.
  • FPM (FastCGI Process Manager):
    • Performance: FPM further optimizes FastCGI, offering better performance and scalability for PHP applications.
    • Stability: FPM can manage different pools of PHP processes with various configurations, providing more flexibility and stability.
    • Usage: Best for large websites and applications with high traffic, requiring efficient resource management.