You have rented a KVM Server with Windows and want to get started right away? Understandable!
First of all, congratulations on ordering your Windows KVM Server. That was definitely the right choice!
We will take you through the steps to get your server up and running.
Your KVM Server comes with Linux by default. But don’t worry! Setting it up for Windows is straightforward, and we are here to help. You already have everything you need, so let’s get started.
Order a Windows KVM vServer
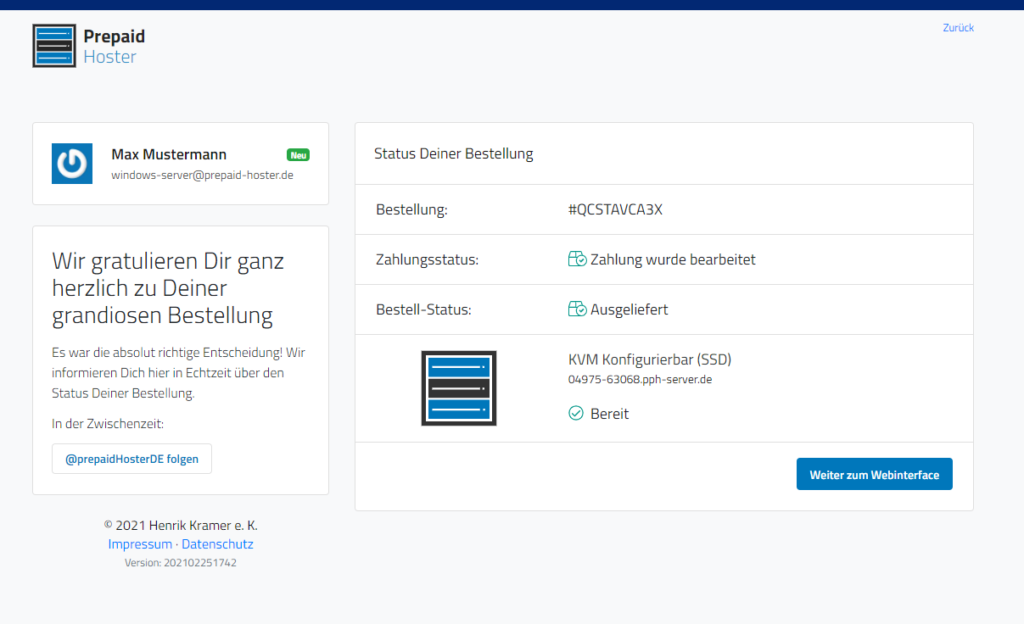
After placing your order, wait a few seconds and then click the “Proceed to Web Interface” button. If not, log in to the web interface at www.vionity.de using your credentials.

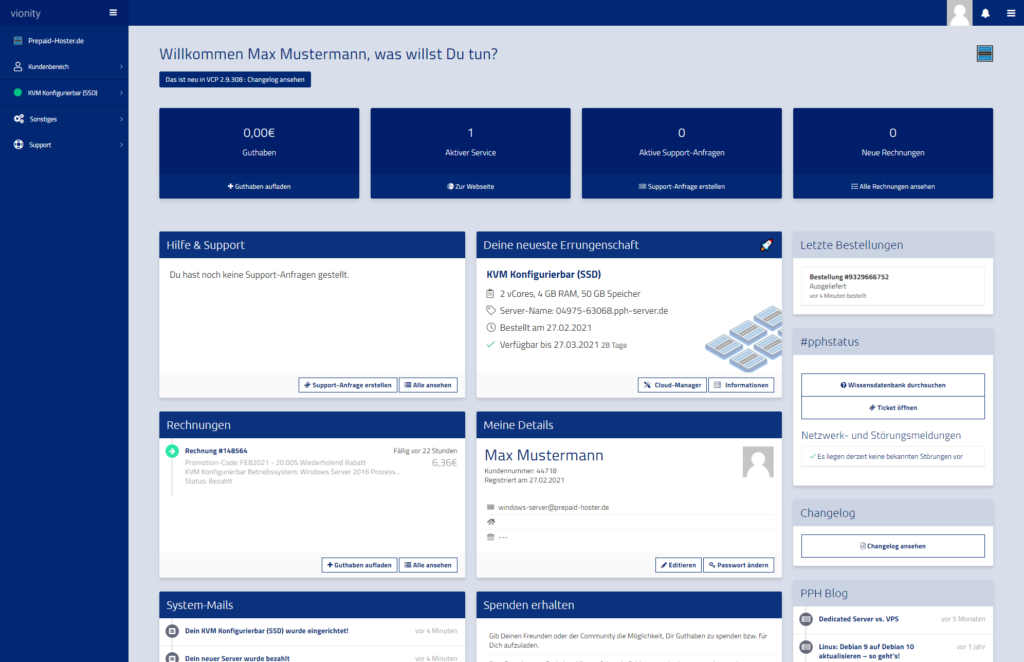
Once the web interface has loaded, you will see all important information at a glance. Take a moment to review the data on the home page.

Ready to continue? In the middle of the screen, you should see the card “Your latest acquisition”. If not, the order might still be processing. You can find order information on the right-hand side under “Recent Orders” and via the ticket support.
Click on “Cloud Manager” at the bottom of the “Your latest acquisition” card. The web interface will now load all the information about the KVM Server, which may take a moment.

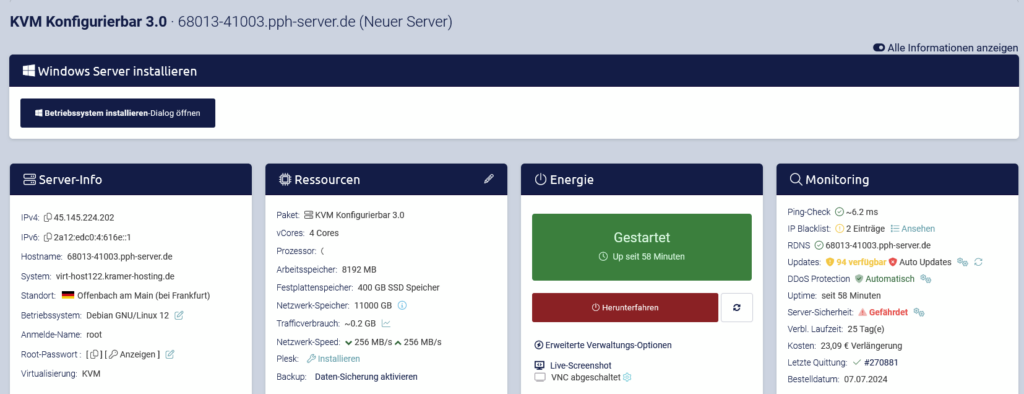
The first step is done. You are now in the management (Cloud Manager) for virtual servers.
Install Windows Server 2019
Let’s begin: To install Windows, look at the large box in the upper left corner of the Cloud Manager. Click on 