Congratulations on your new Linux Root Server purchase at Prepaid-Hoster! We understand that getting started with managing your own server can be exciting.
Your server has been password-ready, so you can actually start right away!
Overview of the Cloud Manager
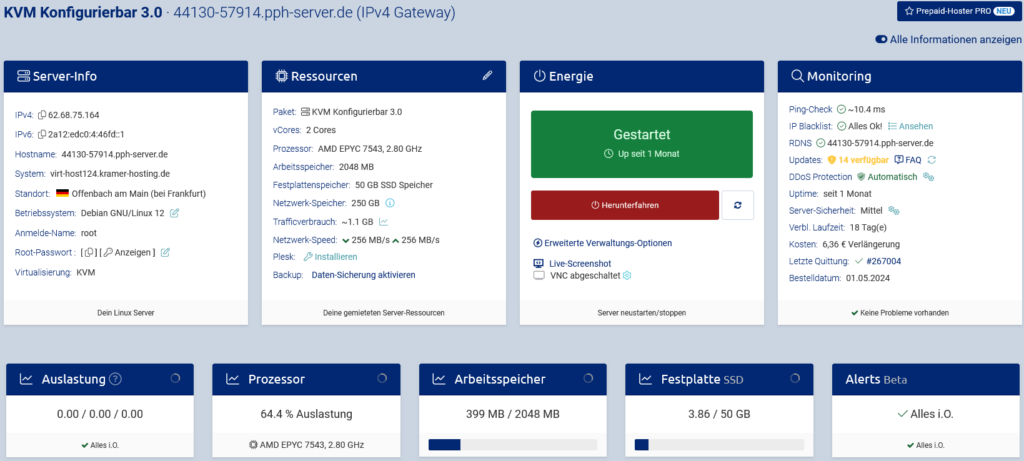
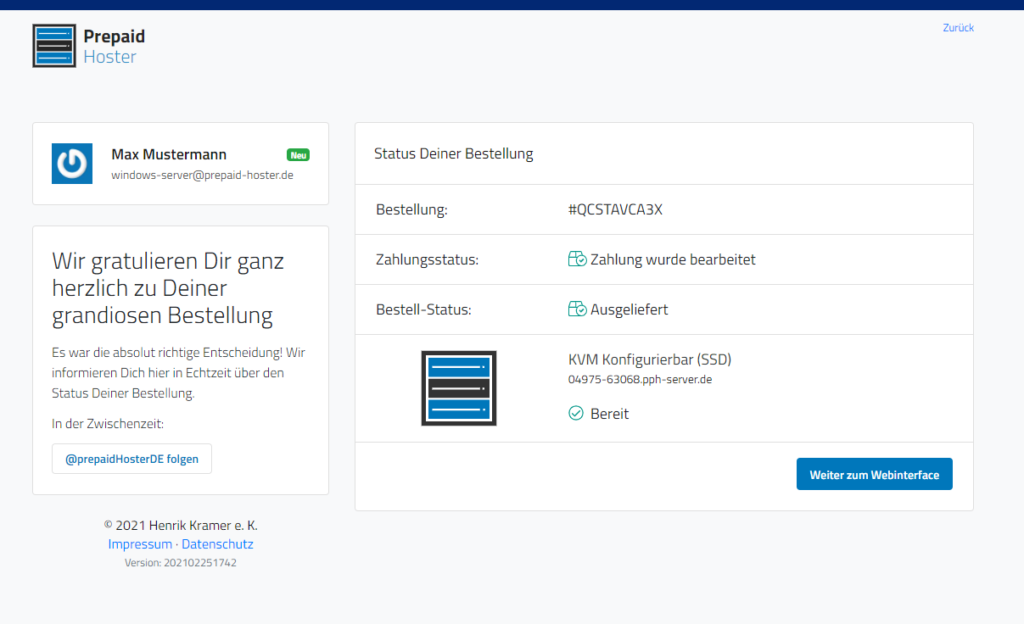
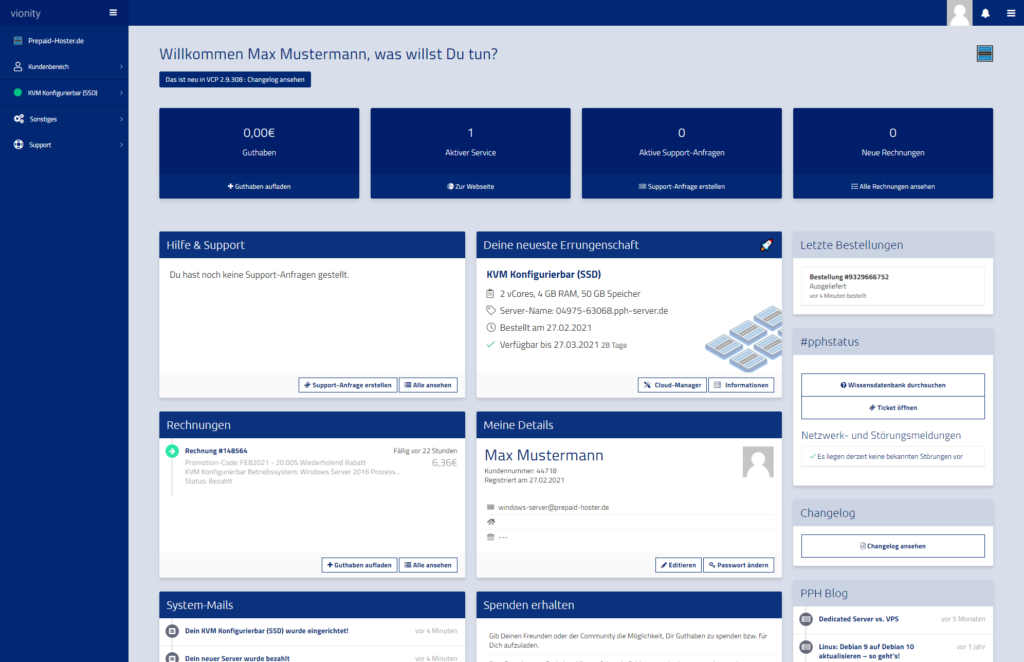
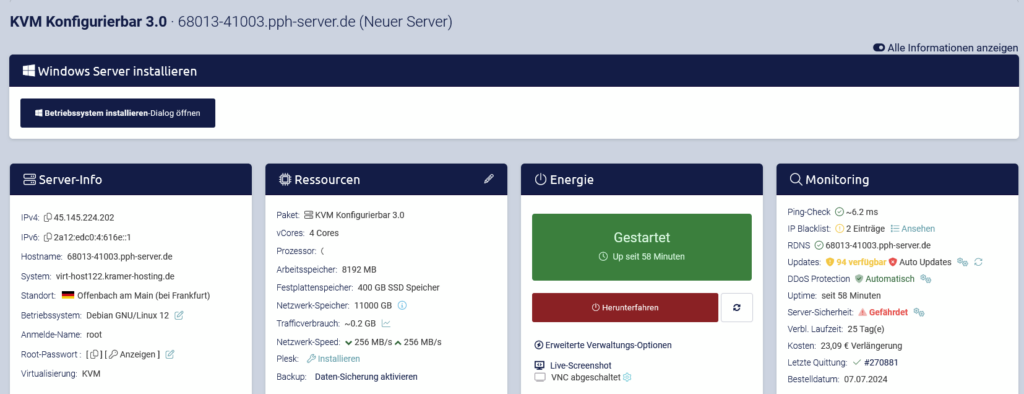
After ordering, you will be redirected to the corresponding Cloud Manager on Vionity. Here you will see an overview of your server, including:
- Server status (Online/Offline)
- IP address
- Operating system
- Available resources (CPU, RAM, storage space)

Enable Advanced View
To display more information about your server in the web interface, click on “Show all information” in the top right corner of the Cloud Manager. Take a look at all the data of your new server. It is best to check if all information is displayed as you ordered.
SSH: Interact with your server
If you are using a root server from Prepaid-Hoster, you will often access it via SSH (Secure Shell). SSH allows you to securely access your server and execute commands.
Establishing a connection
First, you need to connect to your server via SSH. For this, you need an SSH client program like PuTTY or a terminal on your operating system.
The command to establish a connection looks like this:
ssh username@your-server-ipIf you are using the root user, the command could look like this:
ssh root@123.45.67.89After entering the command, you will be prompted to enter your password. Once you have entered this correctly, you have successfully logged into your server.
My server is not reachable via SSH ð
Don’t worry! It can happen that your server is not reachable after ordering. The automatic provisioning of virtual servers involves a lot of tasks. It is possible that one of them is not completely successful. Often a reinstallation helps. If all else fails, support is there for you. But please check if the server is online.
Basic Navigation Commands
After successful login, you can explore the file system with various commands. Here are the most important ones:
| Command | Description |
|---|---|
pwd |
Displays the current directory. |
ls |
Lists the contents of the current directory. |
cd |
Changes to another directory. |
cd .. |
Changes to the parent directory. |
cd /path/to/directory |
Changes to a specific directory. |
Useful Tips
- Auto-completion: You can use the Tab key to automatically complete directory names. This saves time and avoids typos.
- History: You can use the up and down arrow keys to navigate through your command history.
What’s next?
Well, that’s up to you. After all, you probably bought the server for a specific purpose. So you can get started now! But don’t forget to secure your server for production and perform regular updates.


